
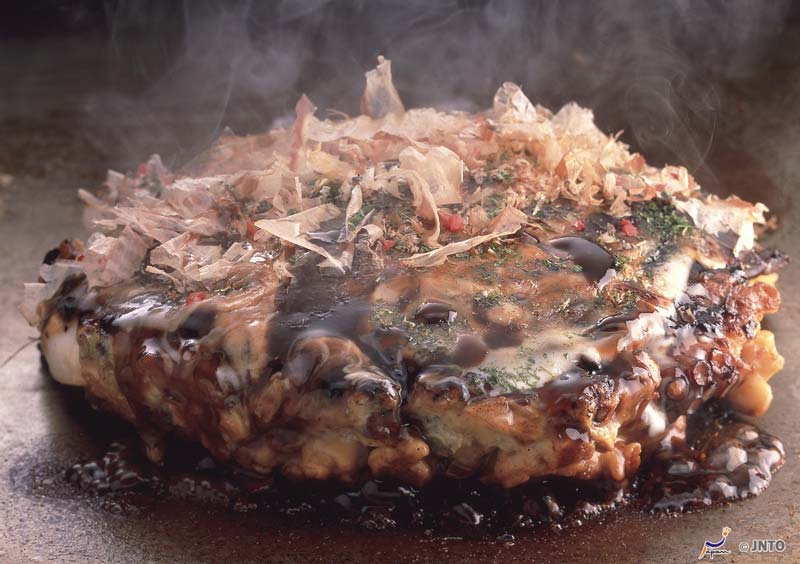
Battle of Okonomiyaki between Osaka and Hiroshima
If you have been to Japan and tried okonomiyaki you would agree that it is one of the tastiest Japanese dishes. But did you know there is a long-standing battle between Osaka and Hiroshima style okonomiyaki? If you spoke to people of Osaka, they would say Osaka is the real origin of okonomiyaki and Osaka style okonomiyaki is tastier. But in Hiroshima, you would not mention that or you would be very unpopular. People of Hiroshima rightly believe theirs is the true okonomiyaki and the tastiest.
On this blog, we will show you their differences and recipes of both styles, so you could be the judge!
At Journey to the East, we are fortunate to have relationship with both regions. Our client support officer, Ritsuko is from Osaka. And one of our Japan staff, Eri is based in Hiroshima, and her husband, Ricky Chandra from Sydney currently works at an okonomiyaki restaurant Lopez in Hiroshima. The following recipes are from Ritsuko and Ricky. Thank you both!
Main differences
Basic ingredients are the same. Flour, shredded cabbage, eggs, pork, most importantly okonomiyaki sauce. The main difference is in the construction. The Osaka style mixes the shredded cabbage into the batter while the Hiroshima style cooks them separately. Eggs are whisked and mixed in the batter in the Osaka style whereas an extra egg is fried separately on hot iron pan and okonomiyaki is placed on top before it is flipped over to show the egg on top in the Hiroshima style.
The osaka style is usually thick and fluffy. To make it light and fluffy, grated yam and tenkasu (small balls of fried batter – a byproduct of making tempura) are mixed in the batter. The Hiroshima style is constructed by layers – crepe like base with a layer of shredded cabbage, then topped with sliced pork and other toppings.
The rest is very similar. The word “okonomi” means “as you like”, so the idea is you add anything you like. The most common topping is thinly sliced pork belly, but you can have seafood (prawns, octopus, squid etc.), cheese or mochi (rice cake). In Hiroshima, you often see the one with oysters, which is Hiroshima’s main product.
Now it is your turn. The recipes are provided below. In restaurants you see a large iron plate where chefs cook dozens of okonomiyaki at once, but at home, all you need is a frying pan (or two for the Hiroshima style).
Osaka Style Okonomiyaki Recipe
Osaka Style Okonomiyaki (serves 2)
- 120 g thinly sliced pork
- 100 g plain flour
- 160 ml milk (makes the batter fluffier than water)
- 2 eggs
- 1 teaspoon bonito stock powder *
- 2 tablespoon grated yam * (optional)
- 2 tablespoon tenkasu * (optional)
- 1 tablespoon red pickled ginger * (optional)
- 150 g shredded cabbage
- 1 tablespoon vegetable oil for frying
Toppings
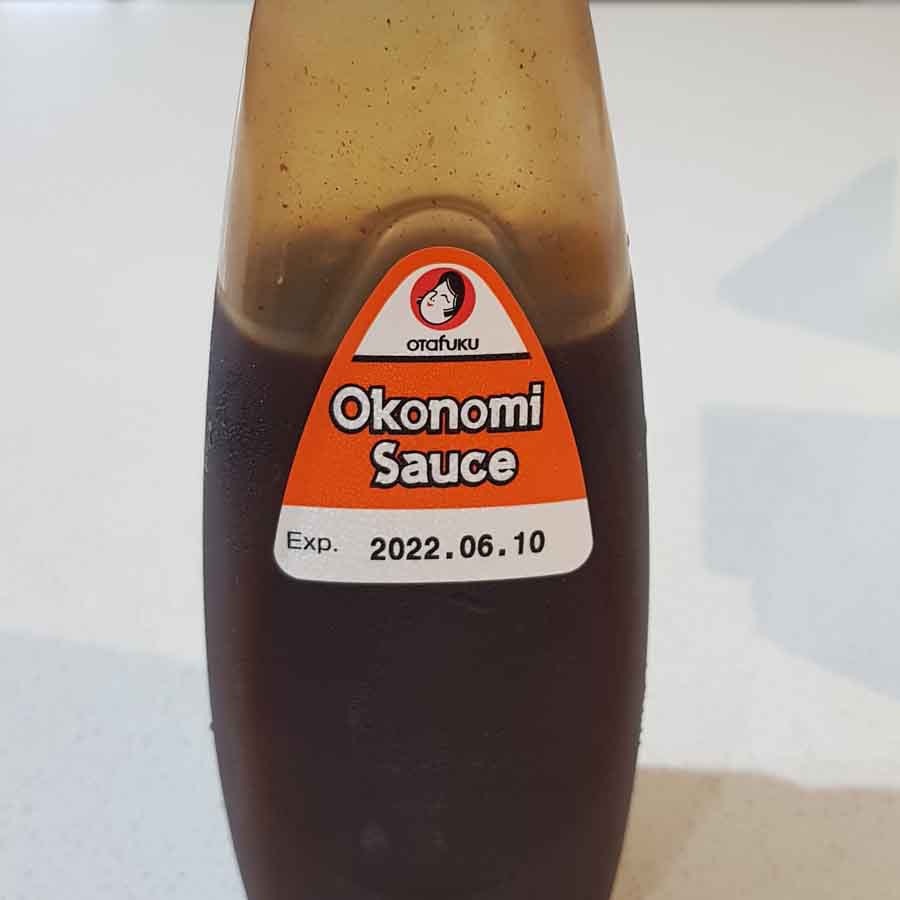
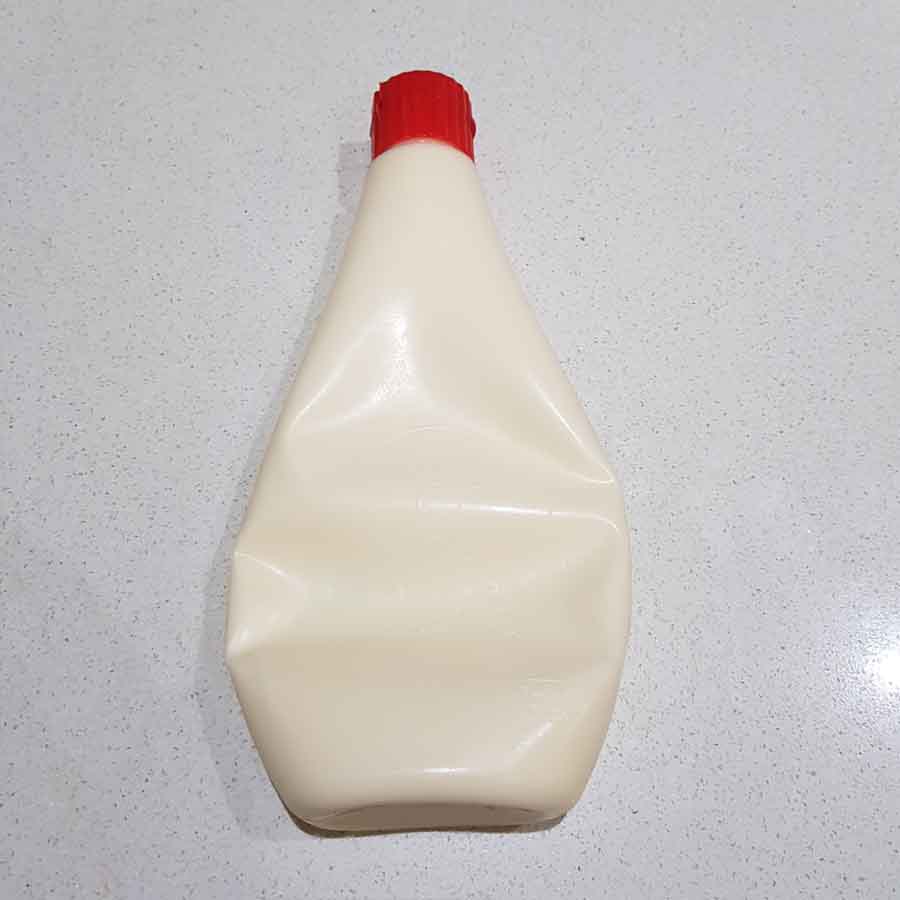
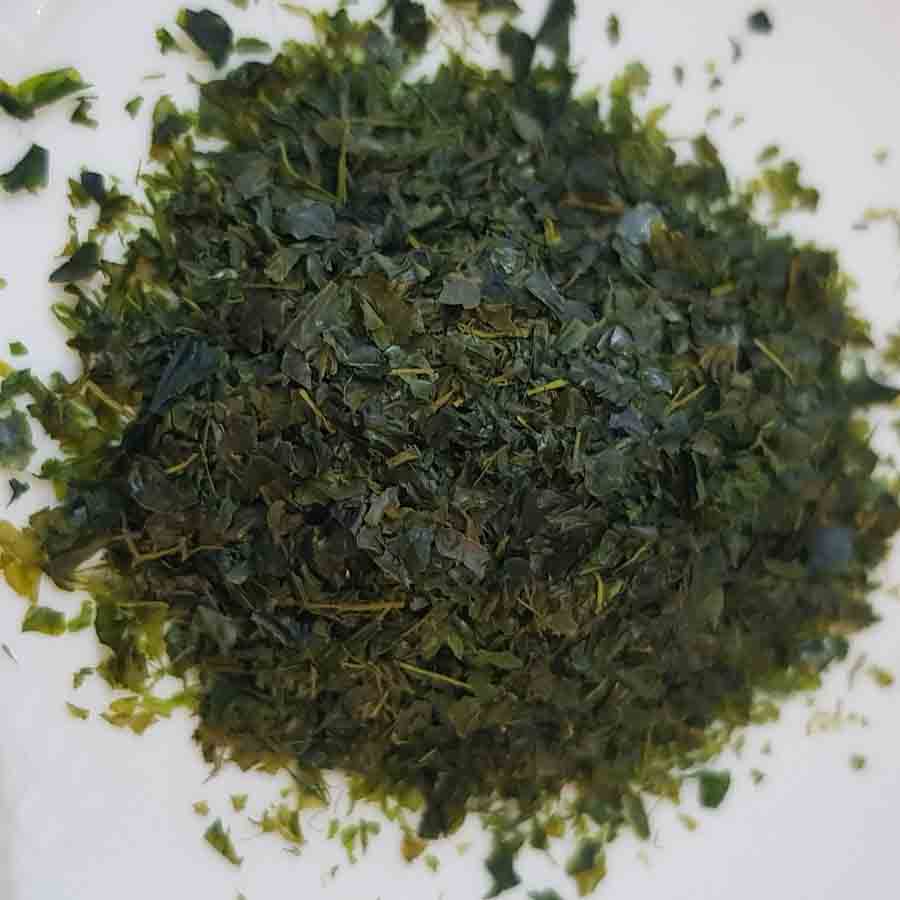
Add Okonomiyaki sauce, Japanese mayonnaise, bonito flakes *, aonori (green seaweed flakes) to your liking.
*you can buy these items from Asian grocery stores.
Cooking method
- Cut pork into 10 cm long slices.
- Place flour, bonito stock powder and milk, and mix well with a whisk to make batter.
- Add beaten eggs, tenkasu, yam, and shredded cabbage and lightly mix (do not overbeat to keep the batter light and fluffy.
- Heat a frying pan and add oil (medium to high heat)
- Pour the batter in to the pan and evenly spread. At this point it is important to keep it thick (1-2 cm at least).
- Place pork slices on top and cook the okonomiyaki on medium heat for 3-5 minutes.
- Flip the okonomiyaki using a plate or a large spatula, and cook further 3-5 minutes until the pork side is nice and crisp.
- Serve on a plate with the pork side up.
- Spread okonomiyaki sauce and mayonnaise on top, and sprinkle over bonito flakes and aonori.
Hiroshima Style Okonomiyaki Recipe
Hiroshima Style Okonomiyaki (serves 2)
- 150 g plain flour
- 50 ml milk
- 100 ml water
- 3 eggs
- Cabbage
- Bean sprouts
- Dashi powder*
- Tenkasu * (optional)
- Salt
- Onion powder
- Sliced pork belly
- Yaki soba noodle (or egg noodle for stir fry)
- 2 x 26 cm frying pans
- Vegetable oil
- Okonomiyaki sauce (Otafuku brand is the most popular)
- Japanese mayonnaise, bonito flakes *, aonori (green seaweed flakes) as desired
*you can buy these items from Asian grocery stores.
Cooking method
Crepes
- Whisk one egg, water and milk until combined.
- Add 75 g sifted flour to the egg mixture. Whisk the mixture until smooth and air bubble starts to appear. (Make sure you hit the side of the bowl when whisking to work the gluten.)
- Continue adding the rest of the flour and whisk until you reach crepe batter consistency. (Do not overbeat the batter or you will end up with runny batter.)
- Cover the batter with cling wrap and rest in the fridge for at least 2 hours (overnight preferably).
Cabbage
- Turn the cabbage stalk side up.
- Using cabbage stalk as a guide, cut the cabbage to half. Then cut the each half to two parts. By now, you will have four wedges of cabbage.
- Cut the cabbage against the grain to long thin slices (approximately 2 mm thickness)
Okonomiyaki
- Brush frying pan with oil.
- On a low heat, pour the batter to the first frying pan. Using the back of ladle, spread the batter in circular motion around the pan to create the base. (The base of Hiroshima style okonomiyaki should be thin like a crepe.)
- Fluff up the cabbage, create a ball of cabbage nest and place it to the base (crepe).
- Add bean sprout and tenkasu.
- Season with dashi, salt and onion powder.
- Add sliced pork belly.
- Drizzle a little bit of the crepe batter on top.
- Increase heat to medium high.
- Once the base turns golden brown, using two spatulas flip the okonomiyaki. (Now the pork is at the bottom).
- Cook the okonomiyaki until cabbage is fully steamed and slightly charred.
- On the second frying pan, stir fry the yakisoba noodle with a little bit of vegetable oil. Season with salt, while pepper and onion powder.
- Spread the noodle on the second frying pan (same size as the okonomiyaki base), now transfer the okonomiyaki from the first frying pan to top of the noodle.
- Press the top of the base to compress the cabbage and noodles until it sets.
- Back to the first (now empty) frying pan, crack an egg and then transfer the okonomiyaki back to the top of the egg. Cook the egg to desired. Once done, using two spatulas, flip the okonomiyaki (now the egg side is up).
- Brush the okonomiyaki with okonomiyaki sauce and sprinkle with white pepper and aonori.
Remember, okonomiyaki means “to your liking” so you can add toppings such as cheese, squid, prawns, mochi (rice cake).
I hope you enjoy the Japanese home cooking okonomiyaki recipes for Osaka style and Hiroshima style.
Journey to the East offers a range of excellent Food Tours of Japan and each of them include a fun cooking class by professionals. Please check them out!